Introduction
In this tutorial, i will show you how to find and replace text in Visual Studio by using the Find and Replace feature.
Find and Replace feature
In order to use the Find and Replace feature :
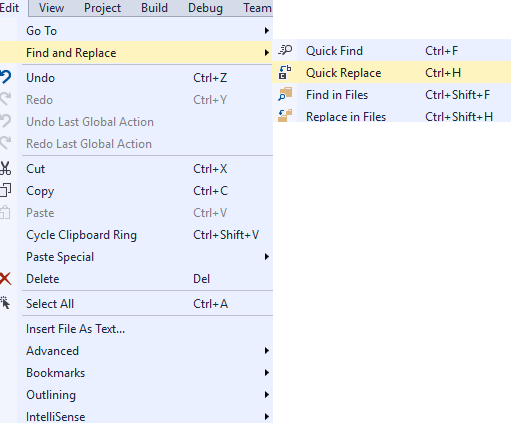
1- Go to Edit > Find and Replace and select Quick Replace
The following window will appear

The window contains two text fields : the first text field represents the search term which means the
text that you want to locate and eventually replace. The second text field represents the replacement term
which means the text that you want to use as a replacement for the search term.
2- Type in your search term and your replacement term
Besides these two text fields, you have the following drop-down list :
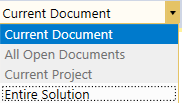
3- Choose an option depending on whether you want to apply the Find and replace feature on one document, multiple documents, a specific project or on an entire solution.
If you are not sure about replacing all occurences of a term, you can use the Replace next button to replace occurences one by one. Otherwise, you can use the Replace all button.

4- Click on one of the above buttons to apply the Find and replace feature.