Introduction
In this tutorial, i will show you how to download and install Visual Studio Community 2017.
Download Visual Studio
1- Start by downloading the Visual Studio installer

Install Visual Studio
2- After clicking on the installer, the following window will appear.

Since i want to develop both desktop and web applications using the .NET framework, i will choose .NET desktop development
and ASP.NET and web development workloads.
3- Choose your own workloads
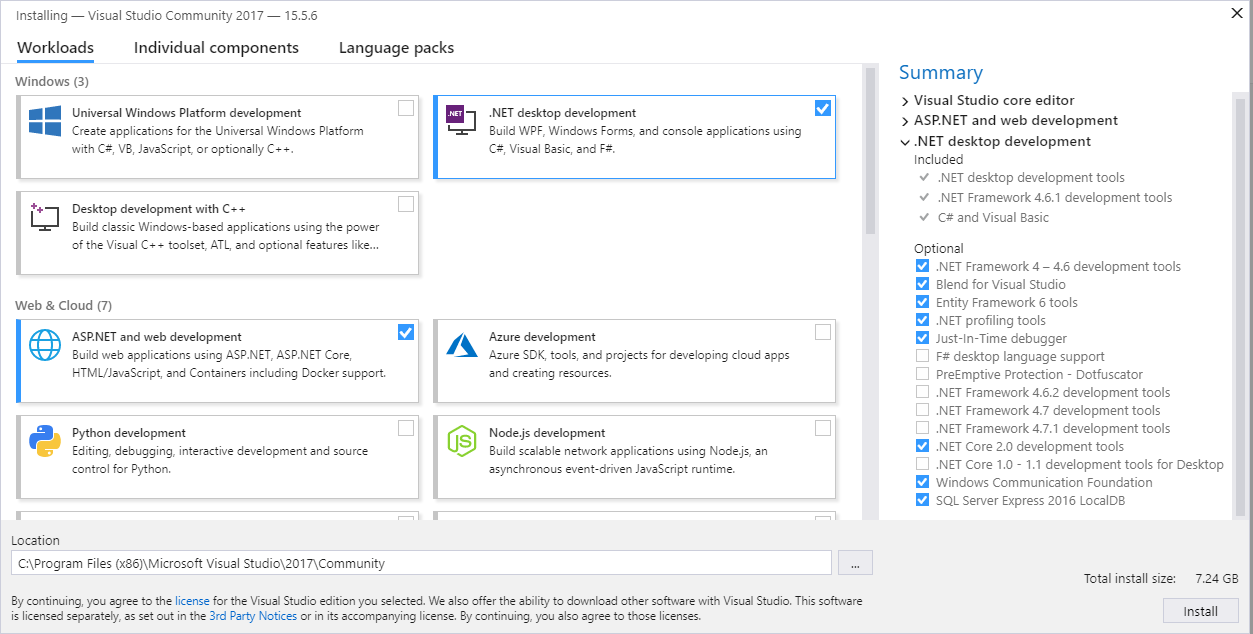
4- Choose the location where you want to install Visual Studio.

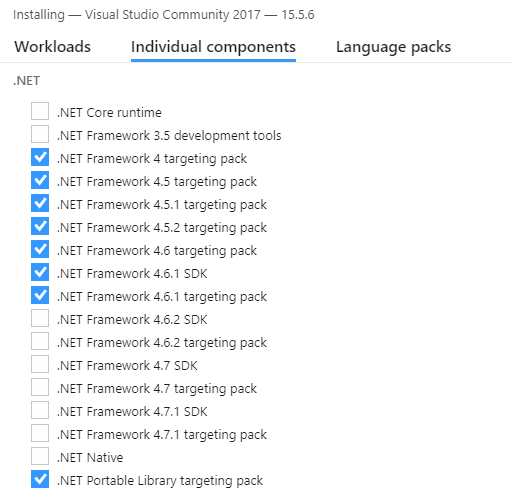
5- In the individual components tab, select the components you want to install.
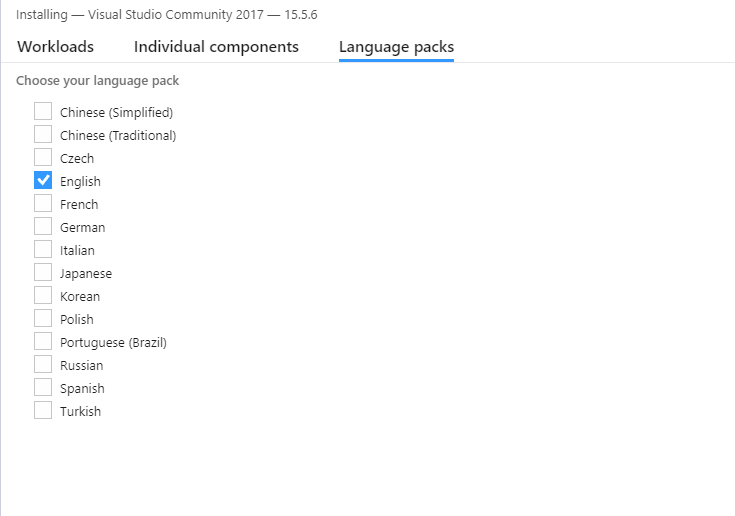
6- Choose the language packs you want to install, you can choose more than one language pack.
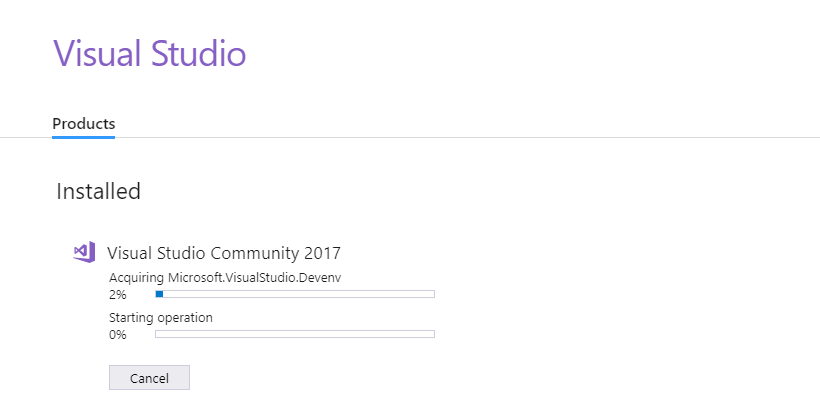
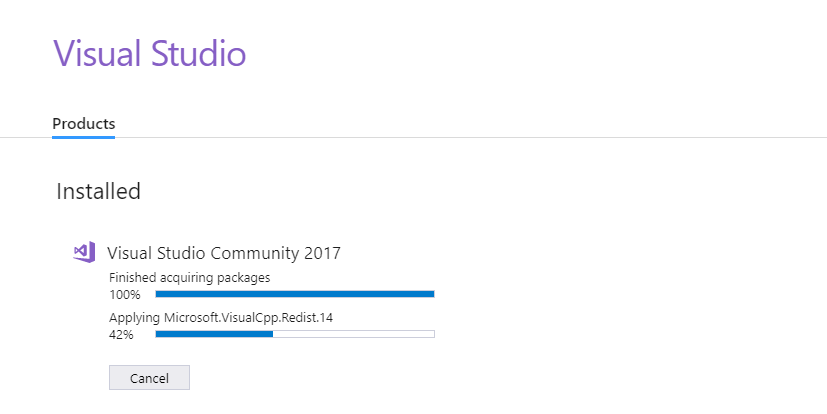
7- Start installing
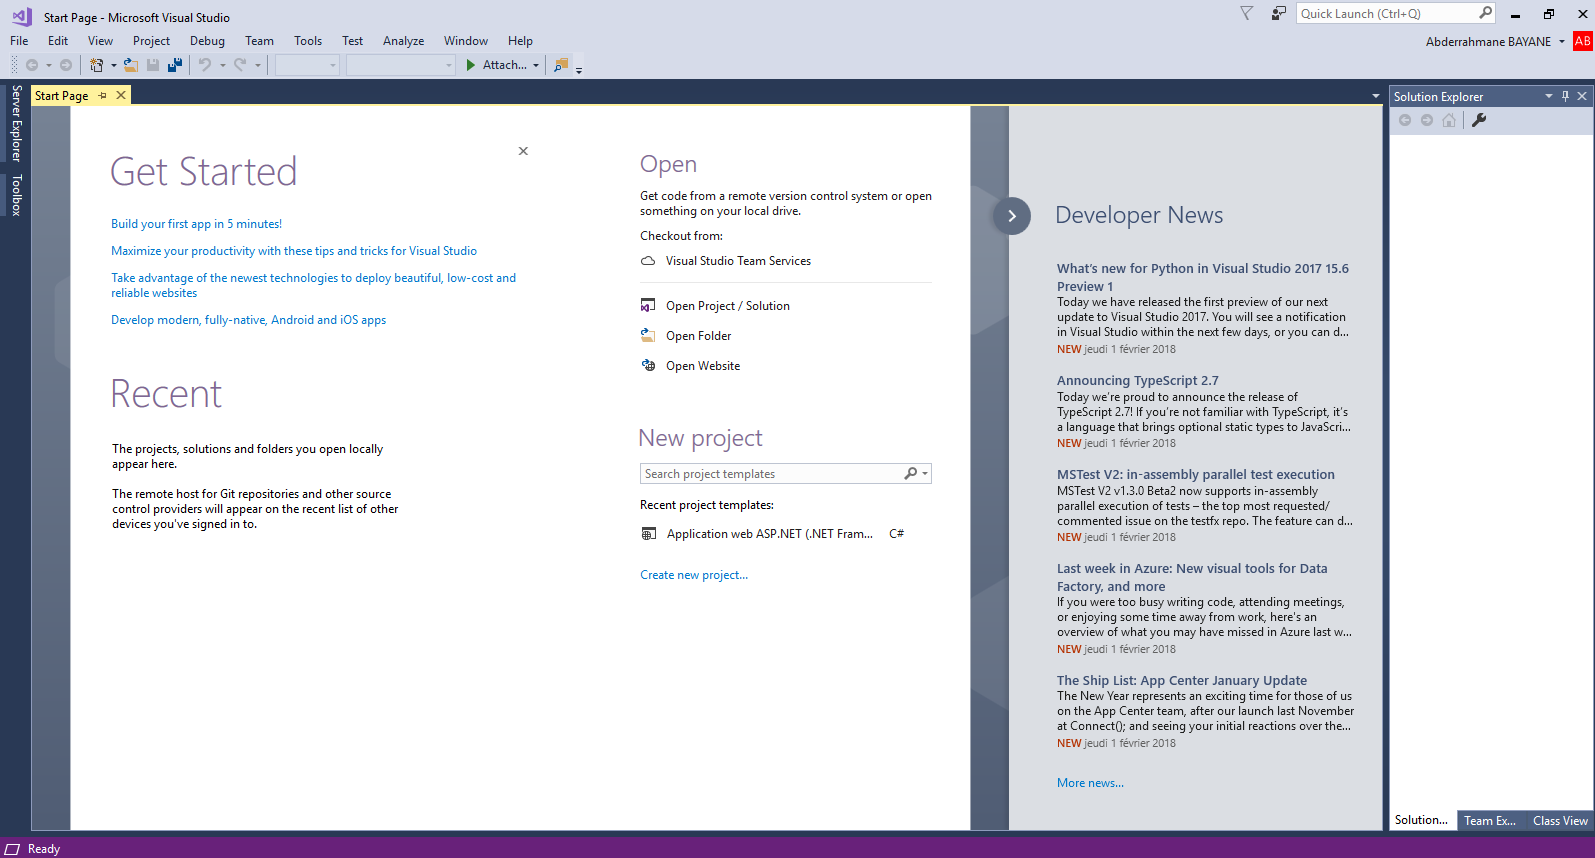
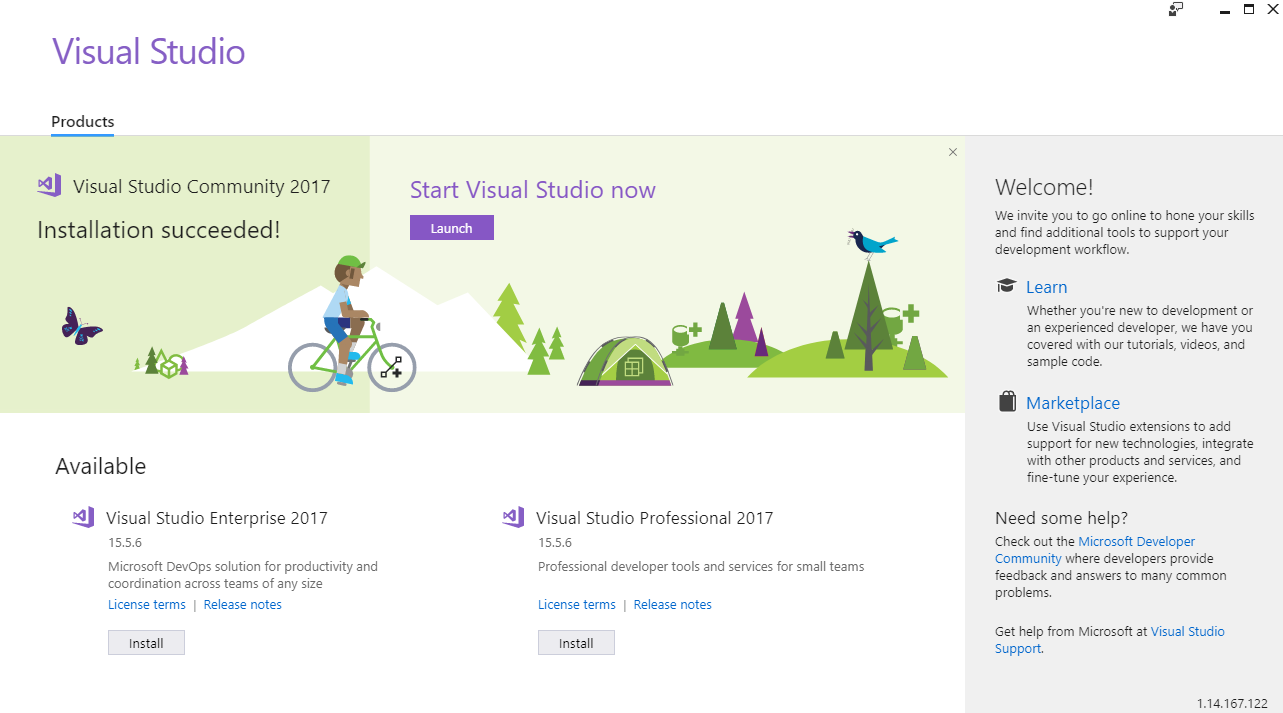
8- Launch Visual Studio.
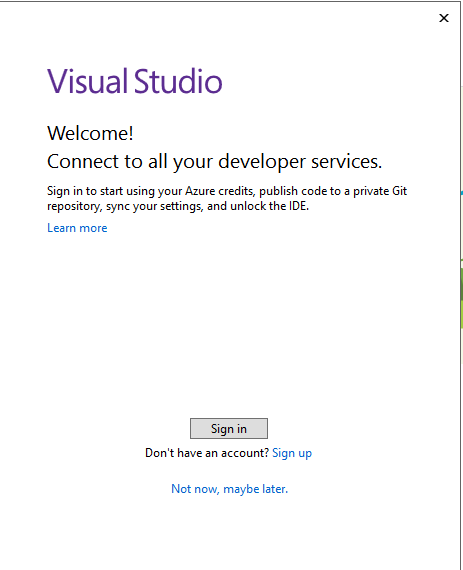
10- Sign in with your Microsoft account or create it if you don't have one already (you can do this operation later if you don't want to do it right away)
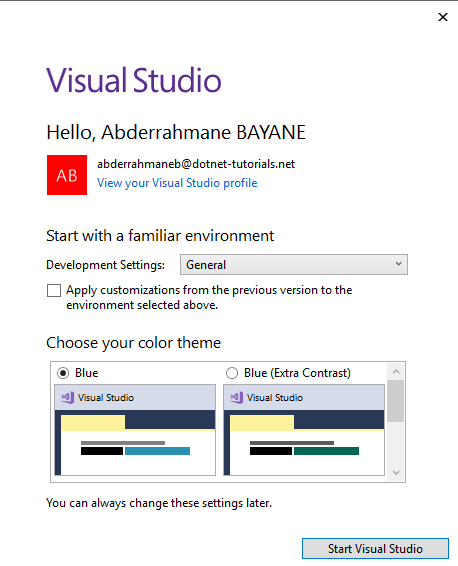
11- Choose your development settings (you can change them later)
The installation is finished, and you are good to go.